Understanding Tile and Grout Maintenance
Keeping your tile and grout looking fresh can seem like a daunting task, especially if you're new to home maintenance. For Staten Island homeowners, maintaining clean and sparkling tiles is essential not only for aesthetics but also for hygiene. This guide will walk you through beginner-friendly methods for cleaning and maintaining your tile and grout.
Why Regular Tile and Grout Maintenance is Important
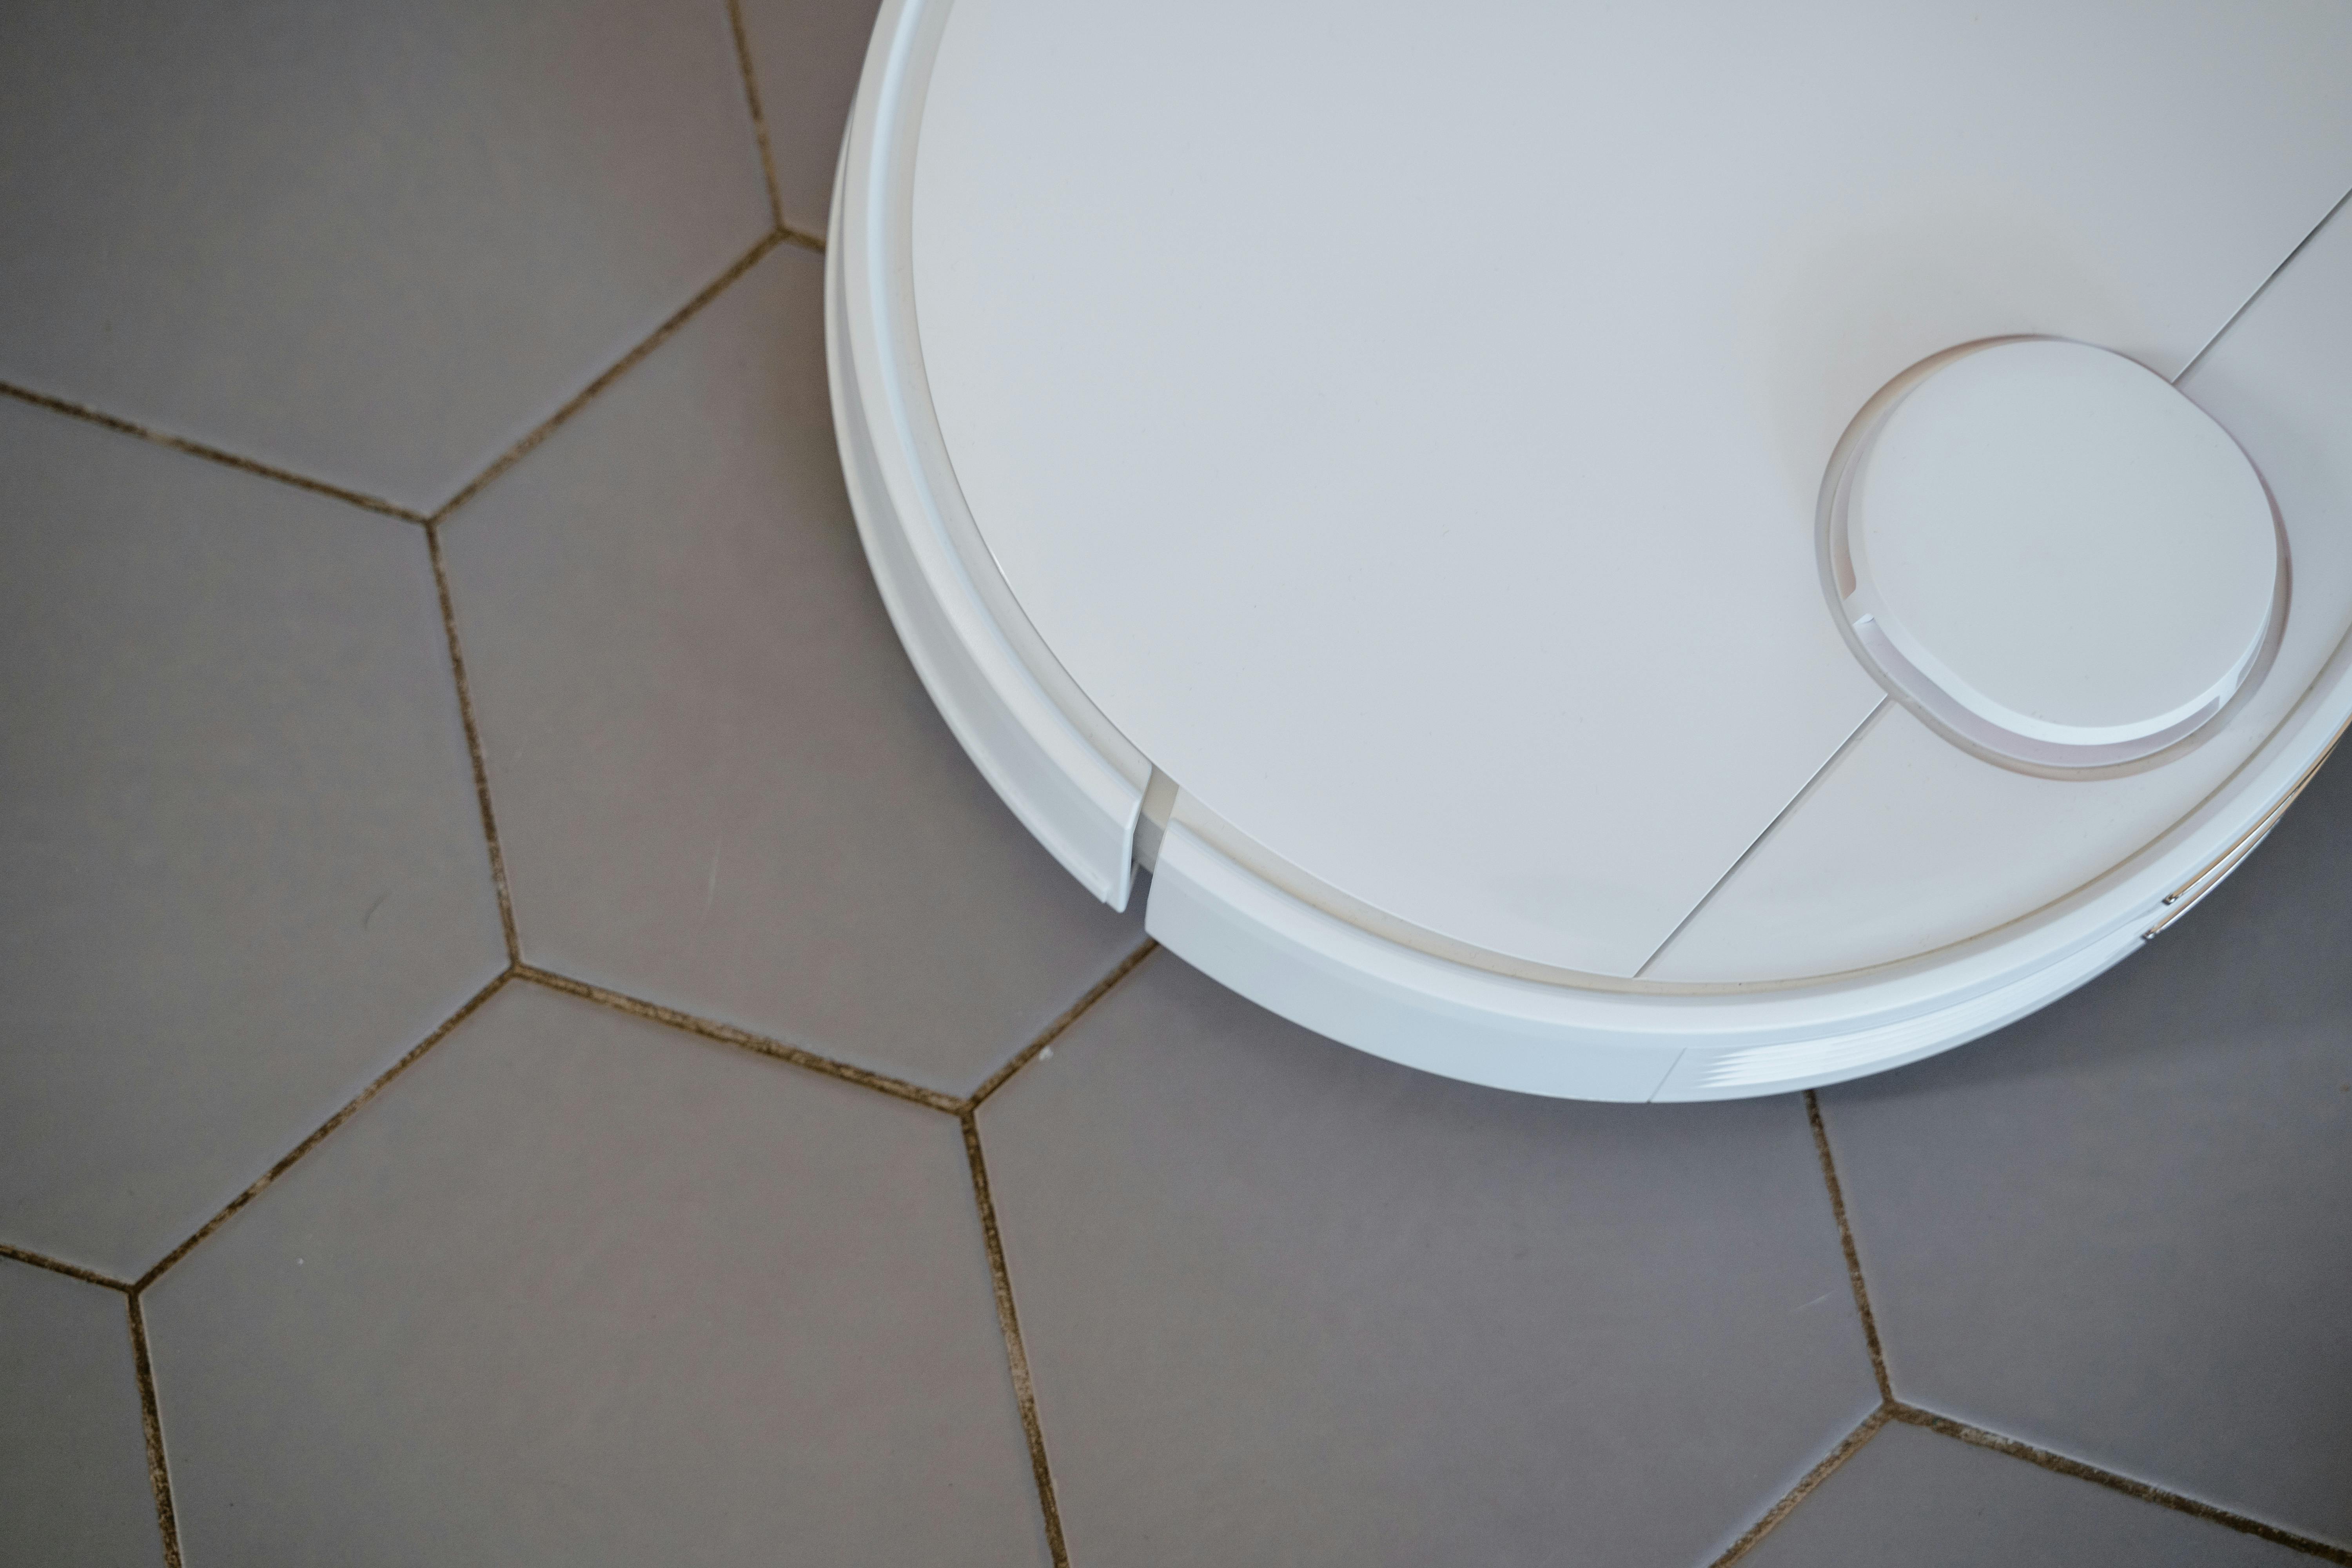
Tiles add elegance and style to any home, but without proper upkeep, they can become dull and discolored. Grout, the material that fills the gaps between tiles, is porous and can easily absorb dirt and grime. Regular maintenance prevents these issues, prolonging the life of your tiles and maintaining the value of your home.
Essential Tools and Materials for Tile and Grout Cleaning
Before diving into the cleaning process, gather the following tools and materials:
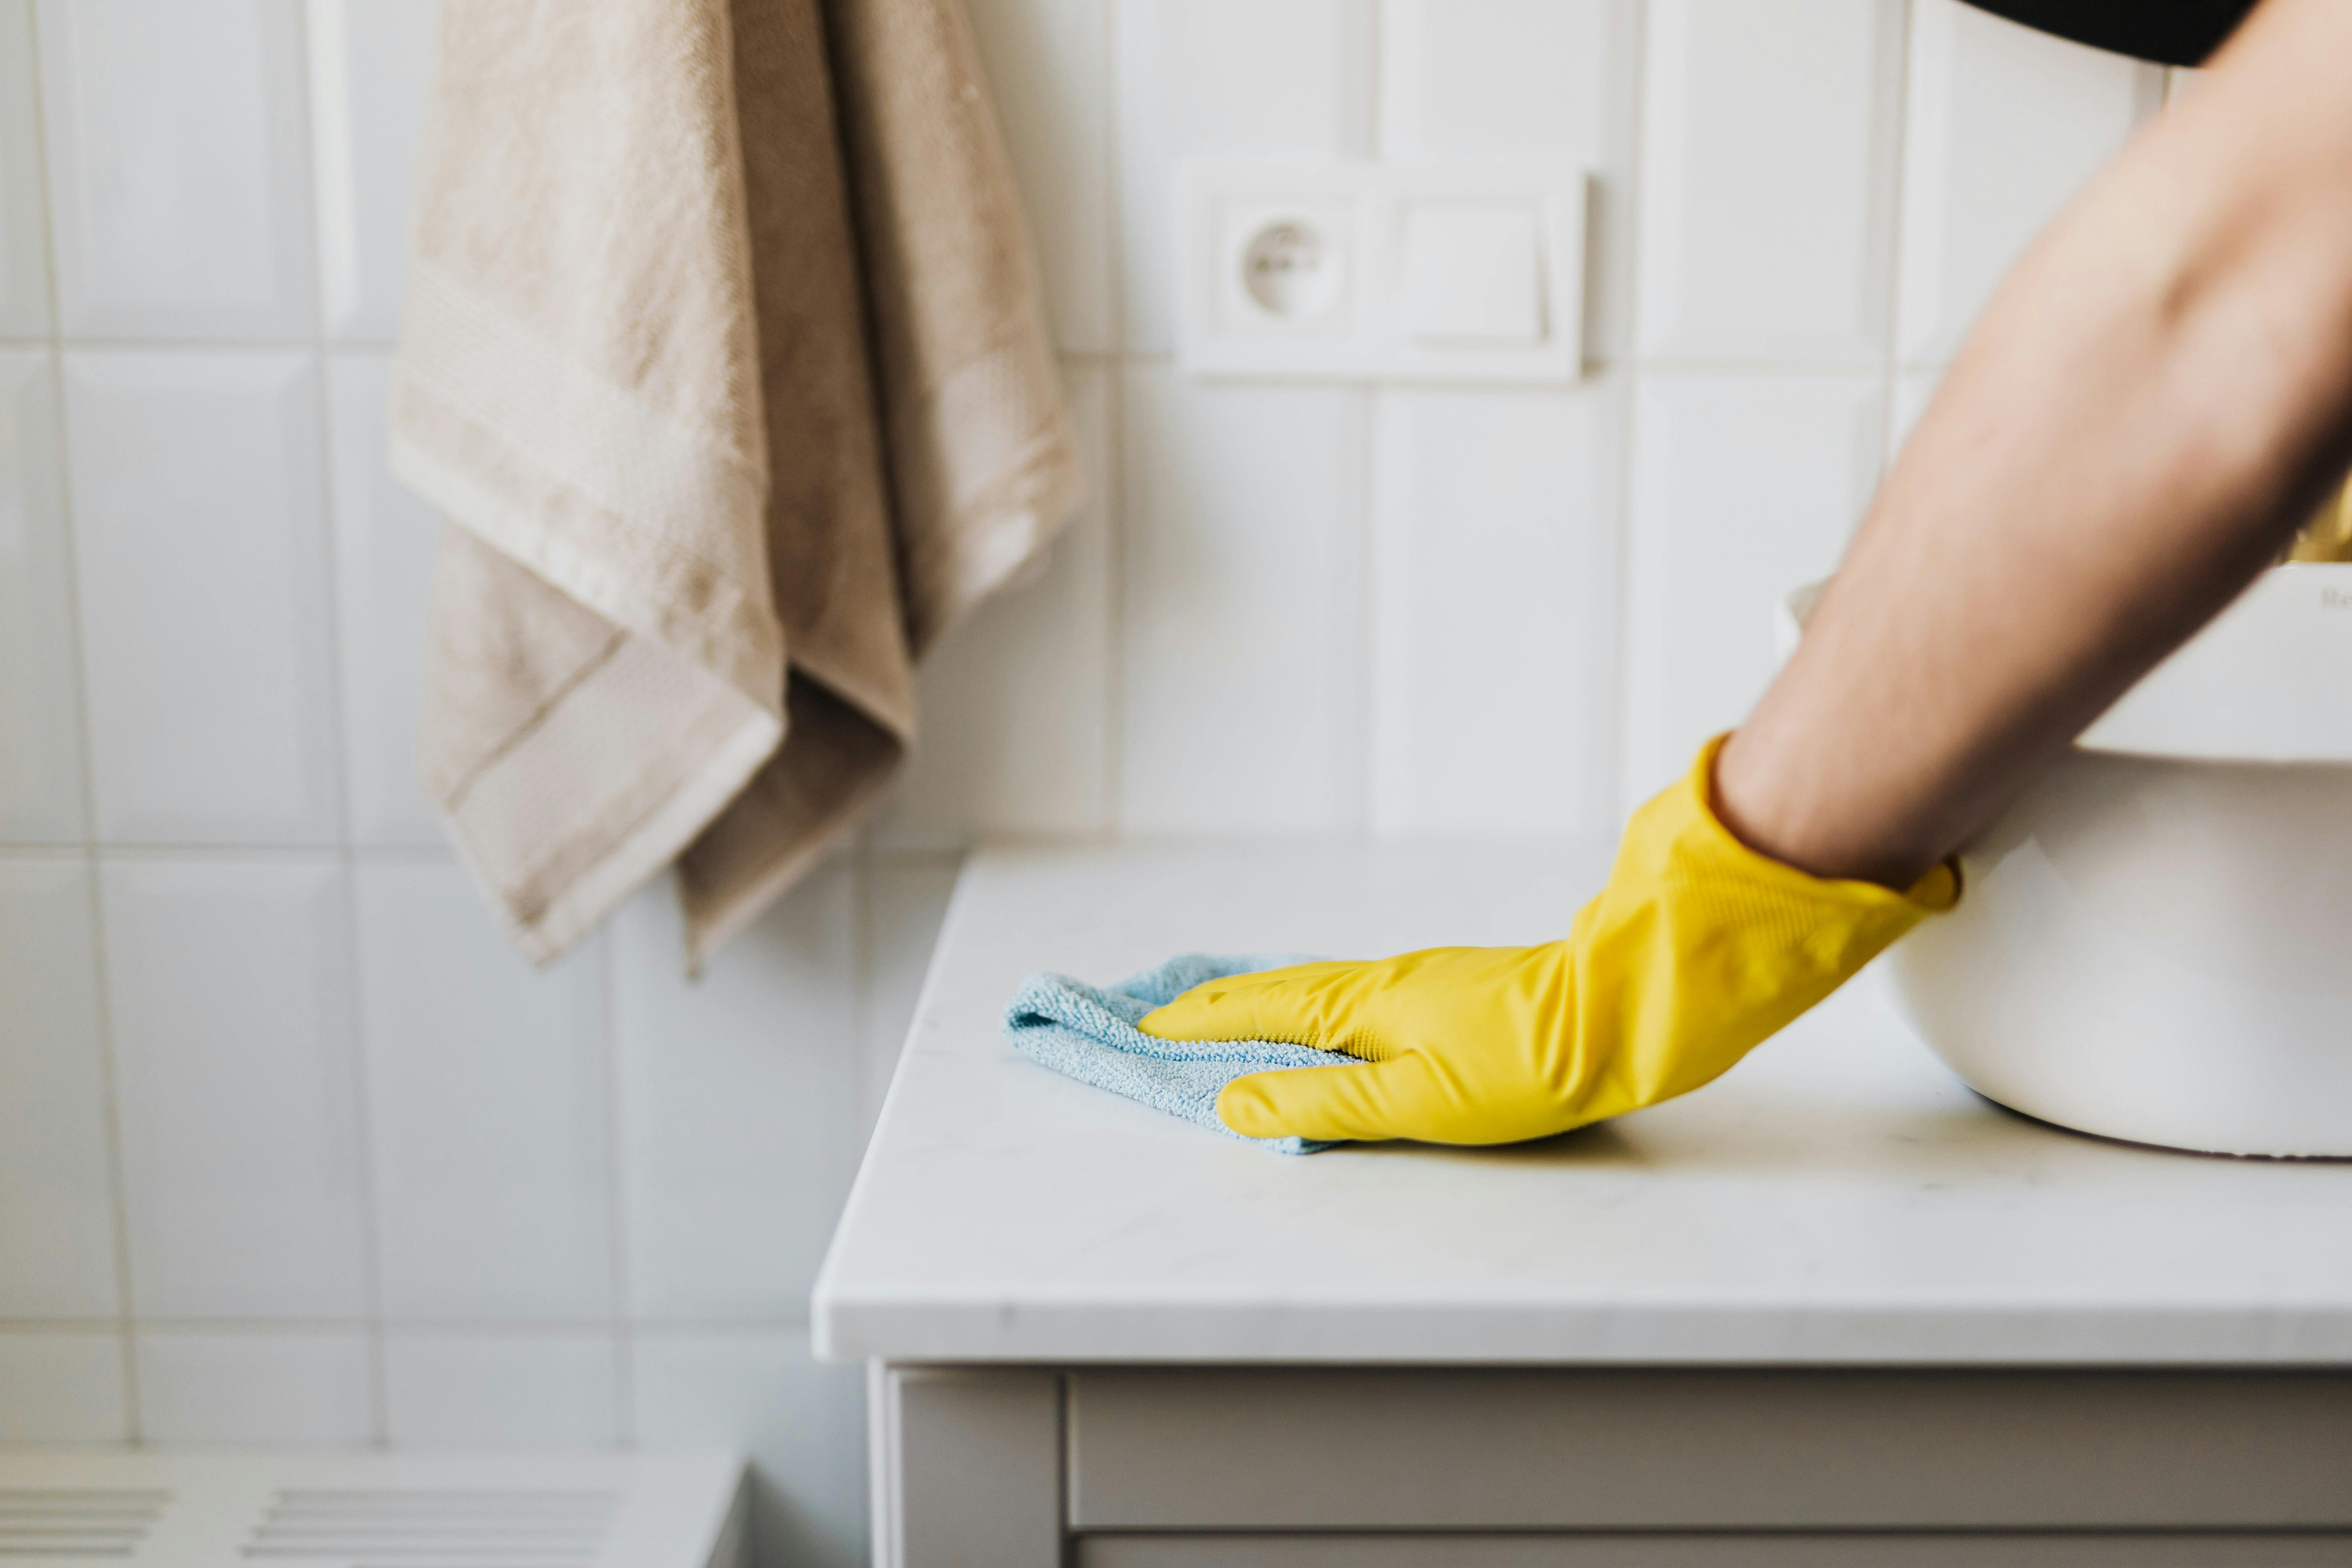
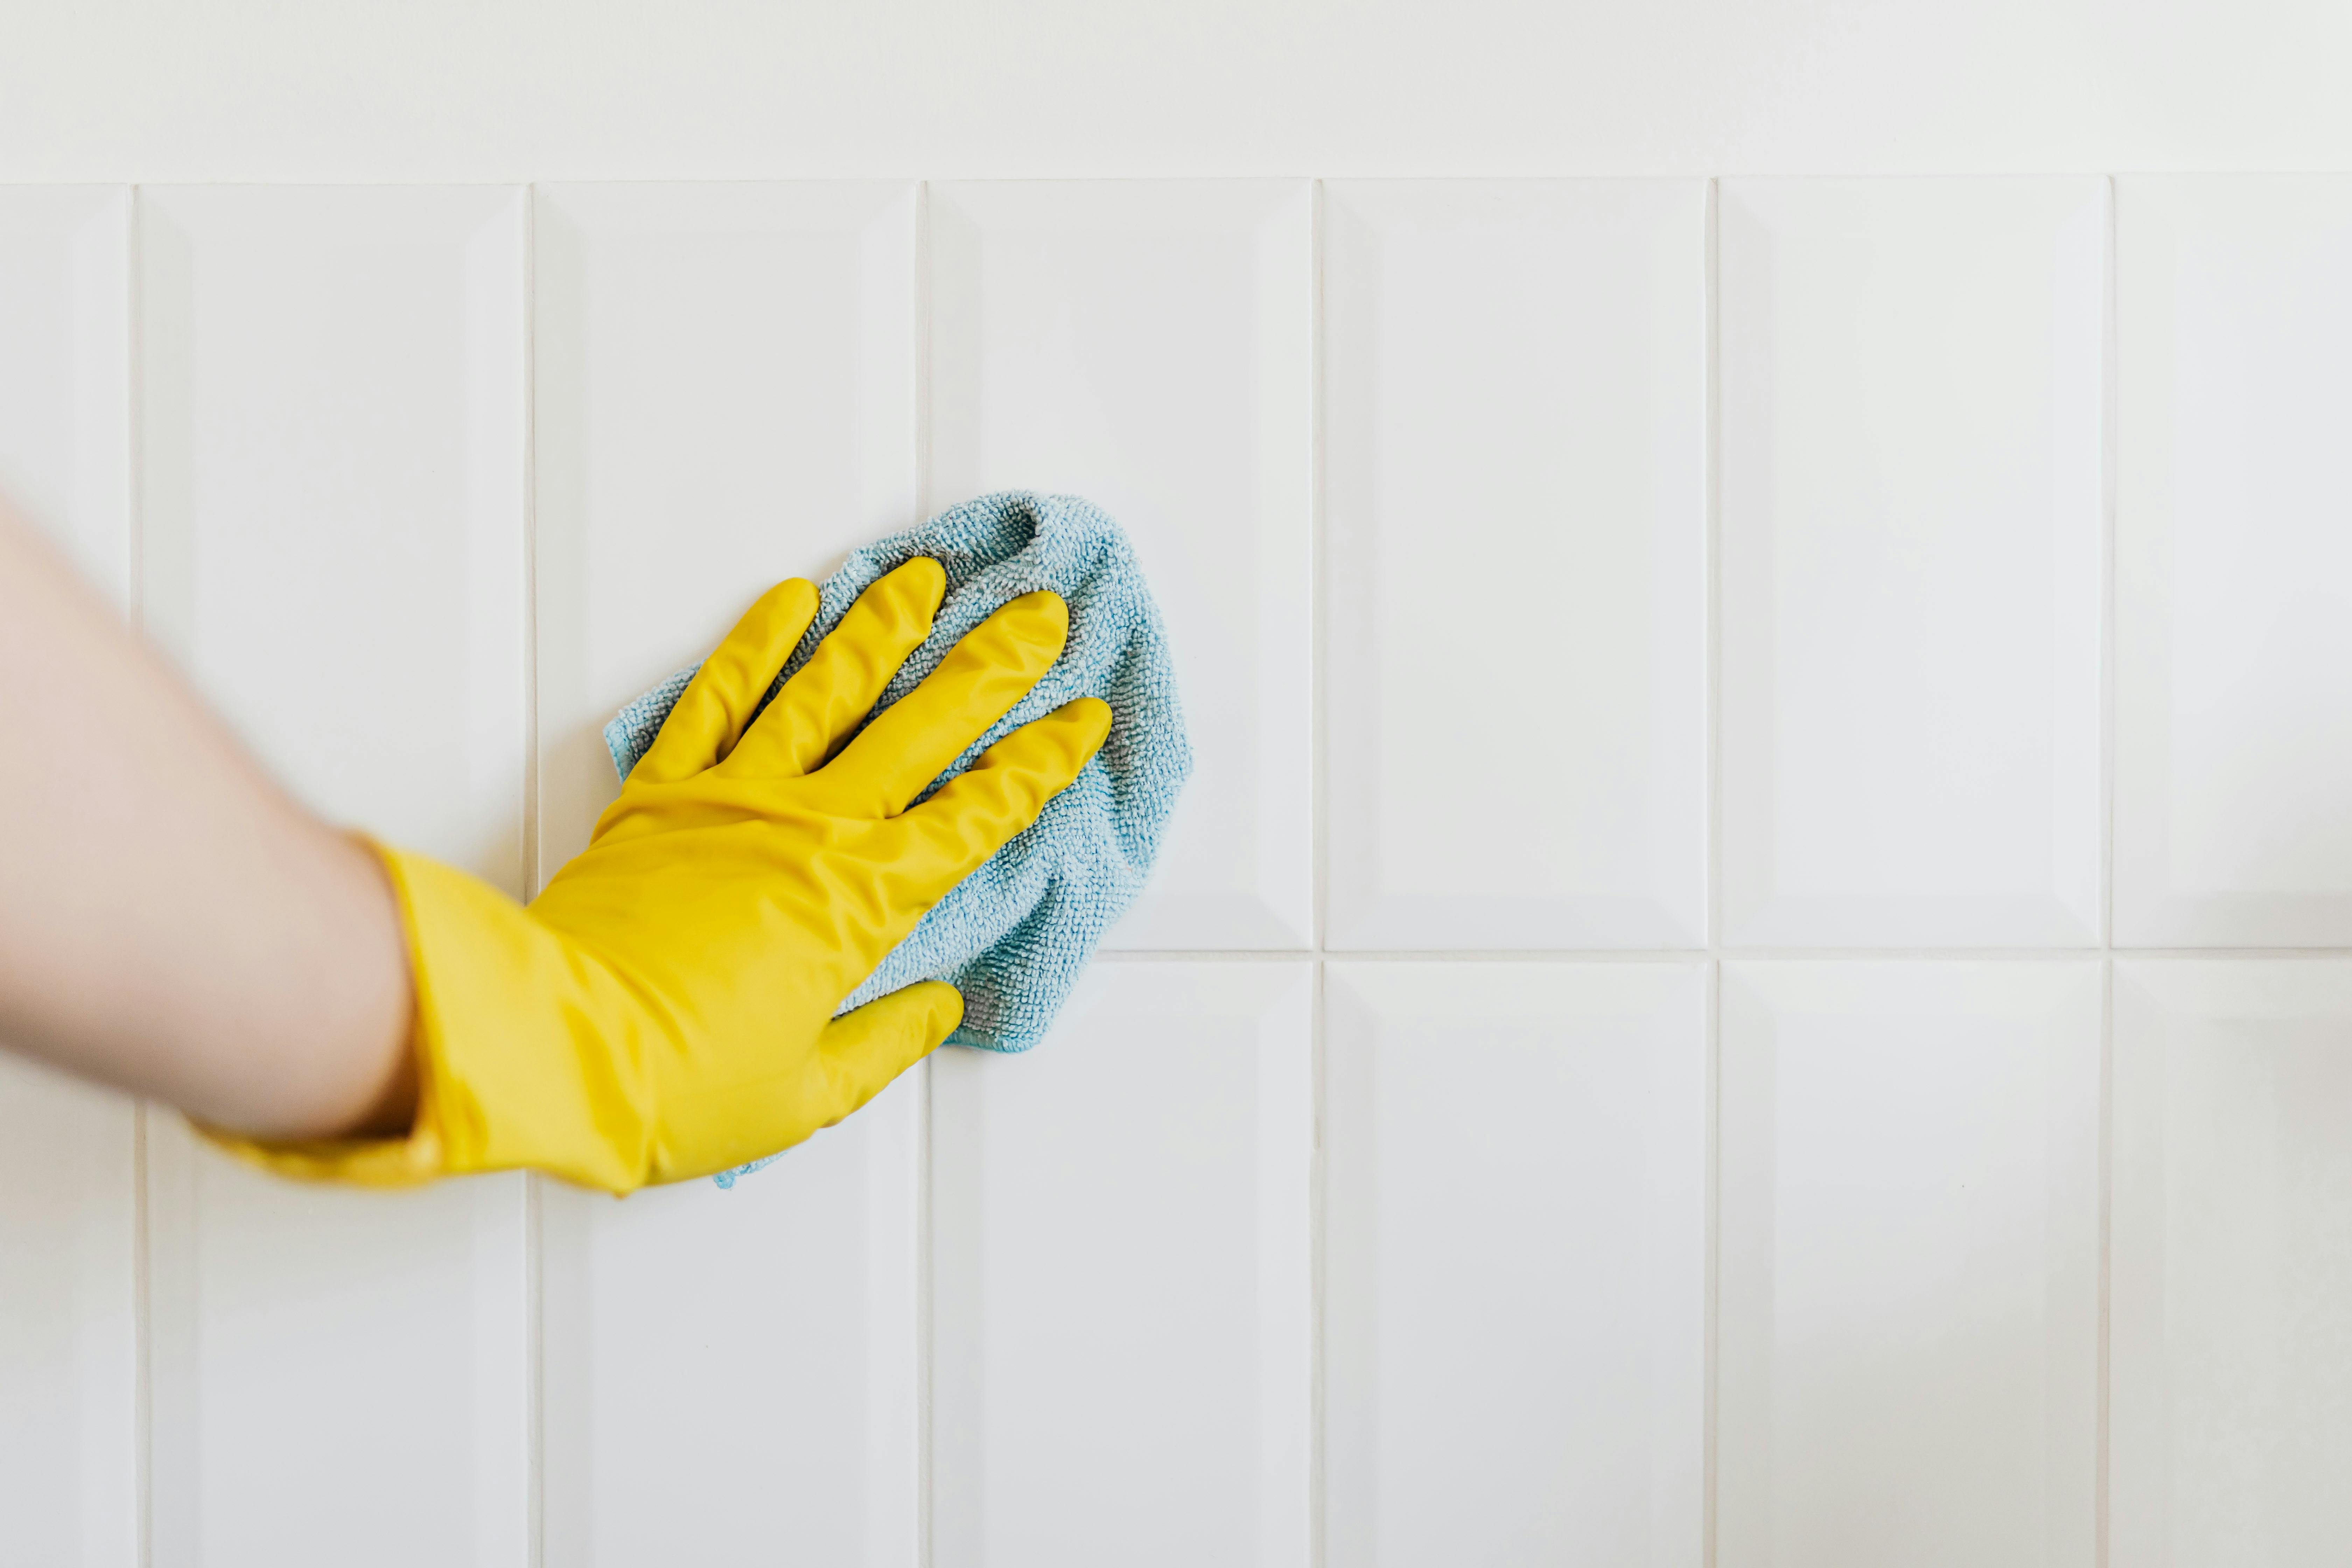
- Soft-bristle brush or toothbrush
- Microfiber cloths
- pH-neutral tile cleaner
- Grout cleaner or homemade solution (baking soda and vinegar)
- Spray bottle
- Bucket
- Rubber gloves
Step-by-Step Guide to Cleaning Tile and Grout
Step 1: Clear the Area
Remove any rugs, furniture, or items from the tiled area. This provides a clear space to work and ensures you don't miss any spots.
Step 2: Dust and Sweep
Begin by sweeping or vacuuming the area to remove loose dirt and debris. This step prevents scratching the tiles during the cleaning process.
Step 3: Prepare Your Cleaner
If using a store-bought cleaner, follow the instructions on the label. For a homemade solution, mix equal parts of baking soda and water to create a paste. For grout, mix vinegar with water in a spray bottle.
Step 4: Apply the Cleaner
Spray or apply the cleaner onto the tiles and grout. Allow it to sit for about 5-10 minutes, which helps break down dirt and grime.
Step 5: Scrub the Grout
Using a soft-bristle brush or toothbrush, gently scrub the grout lines. Focus on areas with visible stains or discoloration.
Step 6: Rinse and Wipe
Rinse the area with clean water and wipe down the tiles with a microfiber cloth. Make sure to remove all the cleaner residue to prevent any dulling of the tiles.
Step 7: Dry the Tiles
Use a dry microfiber cloth to buff the tiles to a shine. This will prevent water spots and streaks.
Pro Tips for Maintaining Clean Tile and Grout
- Seal the grout: Apply a grout sealer every 6-12 months to protect against stains and moisture.
- Use doormats: Place doormats at entrances to reduce dirt and grit on tile floors.
- Regular spot cleaning: Address spills and stains immediately to prevent them from setting in.
When to Call the Professionals
While DIY methods are effective for regular maintenance, some situations require professional help. If your grout is severely stained, or if you notice mold and mildew, it may be time to call Grout Guru, your local Staten Island experts. Professional services can provide a deeper clean and restore your tiles to their original glory.
Conclusion
Maintaining your tile and grout doesn't have to be a complicated task. With the right tools and techniques, you can keep your Staten Island home looking pristine. Remember, regular maintenance is key to prolonging the life of your tiles. For more comprehensive cleaning or restoration services, don't hesitate to contact Grout Guru for expert assistance.
For more tips and professional cleaning services, visit our website or give us a call today!